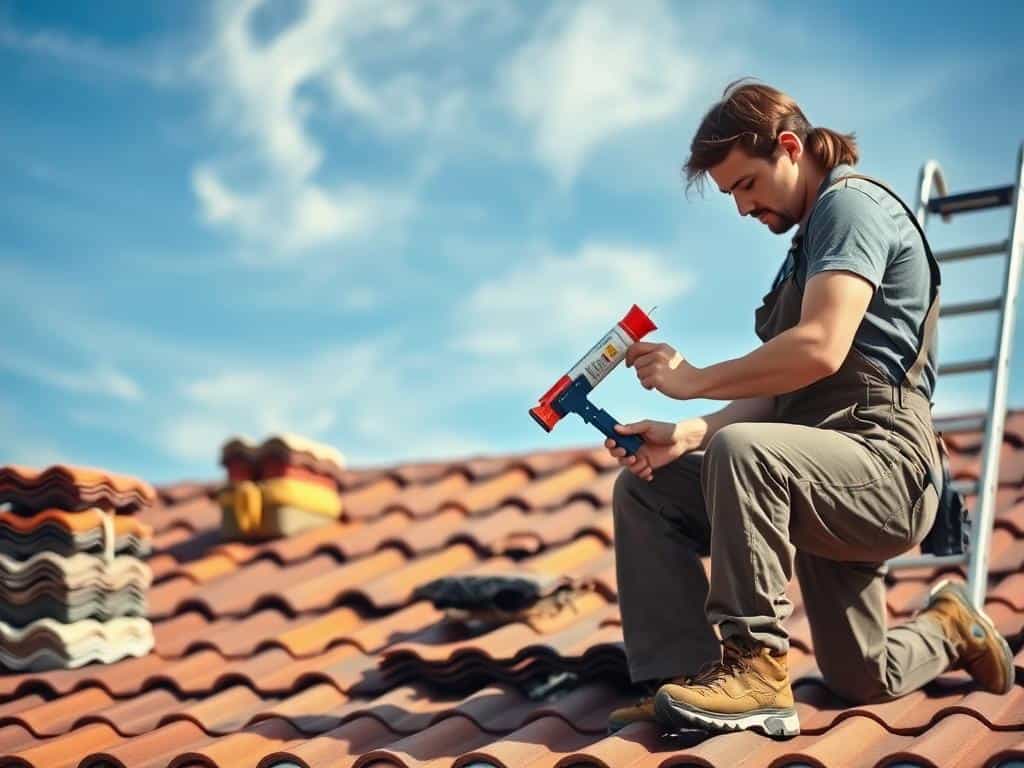
Did you know a roof can last 20 to 40 years? This fact shows how important it is to catch roofing problems early. A leaky roof can cause big issues like extensive water damage, mold, and expensive fixes or even a new roof. Spotting signs of a leak early can save a lot of trouble in home care.
In this article, I’ll cover the basics of DIY roof repairs. You’ll learn how to fix a leaky roof before it gets worse.
Key Takeaways
- Understand the lifespan of your roof material: 20-40 years.
- Look for warning signs such as sagging areas that indicate structural issues.
- Address persistent leaks promptly to prevent further damage.
- Recognize that DIY repairs may void warranties if not done correctly.
- Improved attic insulation can help prevent ice dams, a common cause of leaks.
Identifying the Signs of a Roof Leak
Spotting roof leaks early can save a lot of time and money. Water spots on ceilings or walls are a clear sign of trouble. These spots can grow into bigger problems if not fixed quickly.
Missing shingles leave the roof open to damage. Cracked shingles also let water in. Knowing these signs helps prevent water damage.
Common Warning Signs of a Leaky Roof
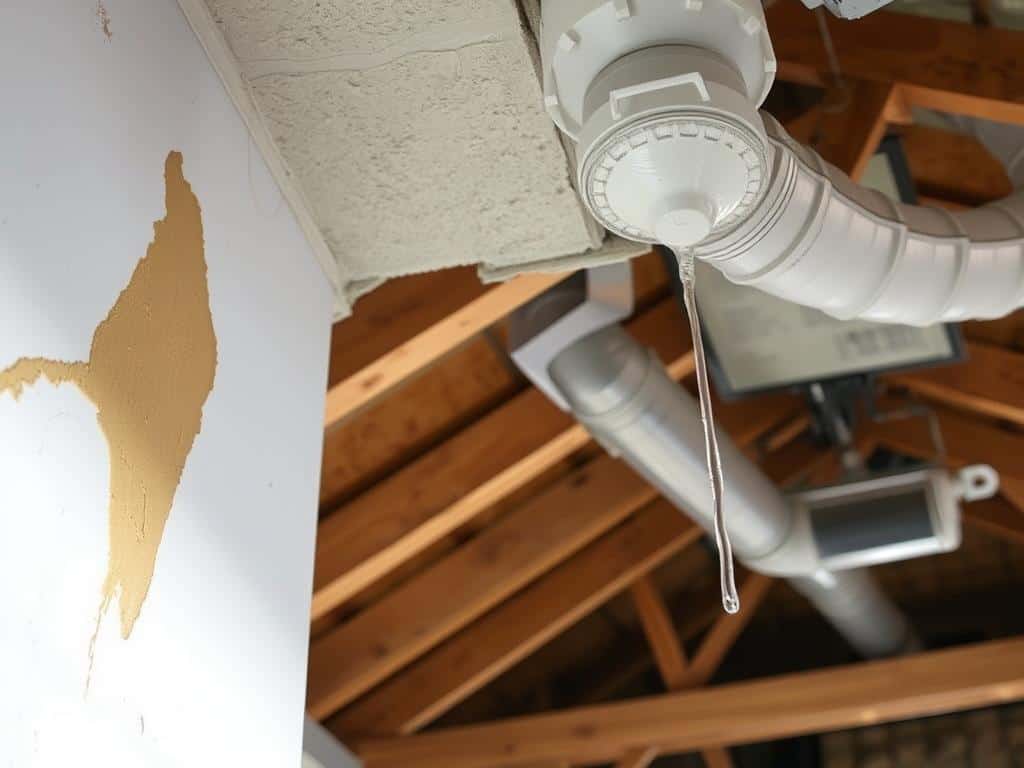
I keep an eye out for several signs of a roof leak. Water stains or discoloration on ceilings or walls are common. These spots can look yellowish or brownish.
Paint bubbles or sagging often come with these stains. Dark spots or mold in the attic also point to leaks. Musty smells inside the home can mean damp insulation or mold.
Locating the Source of the Leak
Finding where a leak comes from can be a challenge. I start by checking the attic for water stains or wet insulation. Following the water’s path usually leads to the leak’s source.
I look for damage like missing or cracked shingles. Issues with flashing around vents, chimneys, or skylights are also common. During rain, I watch for pooling water or drips to find problems.
DIY Roof Repairs: Essential Techniques and Tools
Doing DIY roof repairs can save you money and time. It also keeps your home safe from leaks. You’ll need the right materials and tools to do the job well. These include new shingles, roofing nails, and a good roof sealant.
Materials Needed for Simple Repairs
Having the right materials is key for DIY roof repairs. I always have new shingles, roofing nails, and roof sealant ready. I choose products from trusted brands like GAF for their quality.
My toolkit also includes a sturdy ladder, a measuring tape, and a chalk line. These help me work safely and accurately. A caulking gun is useful for applying waterproof sealants to prevent leaks.
Repairing Missing or Damaged Shingles
Fixing missing or damaged shingles is my first step. I check for any cracked or curled shingles. Then, I remove the old shingles carefully with a pry bar and hammer.
Next, I install new shingles using a roofing nail gun. This tool makes the job faster and easier. It helps me place nails correctly without straining.
Addressing Flashing and Vent Issues
Flashing and vent problems need quick fixes to avoid leaks. I check these areas for damage. If I find any, I replace the damaged parts.
For sealing, I use roof sealant. A utility knife helps me cut and fit materials around vents and edges. This ensures a tight seal and keeps the roof in good shape.
Conclusion
Doing DIY repairs helps me save money and keep my roof in good shape. Fixing small issues like shingle replacements or sealing leaks is rewarding. But, I know some problems need a pro’s touch, like big leaks or structural damage.
Keeping my roof maintained is key to avoiding big issues later. I make sure to clear gutters and check for missing shingles or damaged flashing. Sometimes, I need to call a pro for bigger jobs to ensure they’re done right and safely.
Even though hiring a pro for roof replacement costs more, it’s worth it for the peace of mind. By mixing DIY fixes with professional help, I keep my roof safe and budget-friendly.



MOST COMMENTED
Outdoor
From Urban Chaos to Wilderness Calm: the Art of How to Pack a Hiking Backpack for a Seamless Escape
Home
High-End Bathroom Trends You’ll Want to Copy!
Technology
Protecting Your Digital Sanctuary: an Aesthetic Guide on How to Secure Your Home Wireless Network
Lifestyle
Beat Winter Blues with These Mood-Boosting Tips!
Home
A No-nonsense Guide to Removing Carpet Stains Without the Hype
General
A No-nonsense Guide to Starting a Vegetable Garden: From Urban Balconies to Real Harvests
Smart Living
How to Build a Smart Security System for Under $100