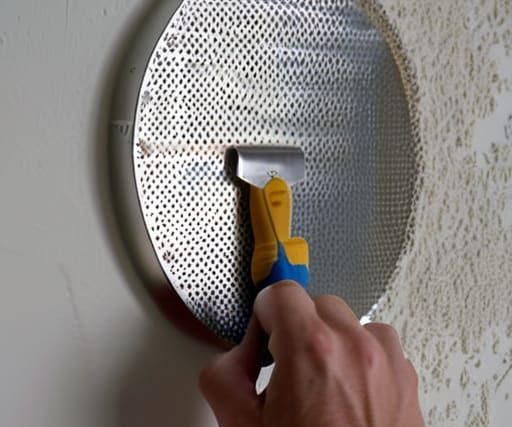
I was sitting in my favorite corner café this morning, sketching a floor plan on a stray napkin, when I realized how much a single imperfection can disrupt the flow of a room. We’ve all been there: you’re admiring the way the afternoon light hits your favorite textured armchair, only to have your gaze snagged by that one unsightly puncture in the plaster. Most people think that learning how to repair a dry wall hole requires a professional contractor or a mountain of intimidating power tools, but that’s a total myth. In reality, a small blemish is just a tiny pause in the visual rhythm of your home, and it’s much easier to fix than you’ve been led to believe.
Once you’ve mastered the rhythm of applying the compound, you might find yourself craving more than just technical fixes—you might want to dive deeper into the broader world of creative expression and finding your own unique voice. While I’m usually tucked away in a corner of a café sketching out new layouts, I often find that connecting with this community provides a wonderful sense of unexpected inspiration that keeps my design perspective fresh. It’s all about finding those little pockets of connection that remind us that every project, no matter how small, is part of a much larger tapestry of human creativity.
In this guide, I’m stripping away the jargon to give you the honest, practical steps needed to mend your walls without the stress. I’ll walk you through everything from selecting the right compound to achieving that perfectly smooth, seamless finish that makes the repair completely disappear. Whether you’re dealing with a stray furniture bump or a mounting bracket mishap, we’re going to turn that distraction back into a clean, serene canvas.
Guide Overview
Tools & Supplies
- Putty knife (for applying compound)
- Sanding block (for smoothing surfaces)
- Utility knife (for cleaning edges)
- Spackling compound (1 small tub)
- Drywall patch kit or mesh tape (1 pack)
- Sandpaper (fine grit)
- Touch-up paint (1 small can)
Step-by-Step Instructions
- 1. Before we dive into the actual mending, let’s gather our tools. I like to think of this as setting up my studio; you’ll need a small tub of lightweight joint compound, a putty knife, some fine-grit sandpaper, and a piece of mesh drywall tape. If the hole is a bit larger, grab a small scrap of drywall too. Having everything laid out on a clean cloth makes the process feel much more intentional and calm.
- 2. First, we need to prep the “canvas.” Take your putty knife and gently scrape away any loose debris, crumbling plaster, or jagged edges around the perimeter of the hole. You want the edges to be relatively clean so the new material has a stable foundation to cling to. If there are any stray bits of paper sticking out, trim them away carefully.
- 3. If you’re dealing with a tiny puncture—the kind left by a stray nail or a rogue command hook—you can skip the tape and go straight to the compound. But for anything larger, you’ll want to apply a piece of self-adhesive mesh tape over the opening. Press it firmly into the center so it spans the gap; this acts as the structural skeleton that keeps your repair from cracking later on.
- 4. Now, grab your putty knife and scoop up a small amount of joint compound. Apply it over the tape in a thin, even layer, spreading it outward toward the undamaged part of the wall. The trick here is to avoid making a massive mound; instead, aim for a smooth, slightly feathered edge. I find that working in delicate, thin layers is much more effective than trying to fix everything in one heavy go.
- 5. Once that first layer is dry (it usually takes a little while, so feel free to grab a coffee and sketch a bit!), you’ll likely notice some texture or unevenness. This is perfectly normal. Take your fine-grit sandpaper and lightly sand the area until it feels smooth to the touch. It’s all about creating a seamless transition between the old surface and your new work.
- 6. If the hole still looks a bit shallow, repeat the process: apply a second, even thinner layer of compound, let it dry, and sand it again. This second pass is where the magic happens, turning a visible patch into a surface that looks like it was always meant to be there.
- 7. Finally, once everything is bone-dry and sanded to a velvet finish, it’s time for the finishing touch. Wipe away any fine dust with a damp cloth to ensure a clean surface, and then apply your paint. When you step back, you won’t see a repair; you’ll see a restored sanctuary that feels whole once again.
Curating Your Wall Repair Tools and Materials
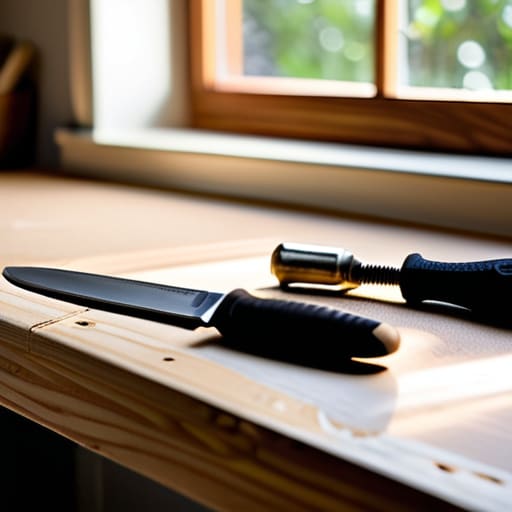
Before you dive into the actual work, I find it’s incredibly grounding to gather everything you need on a clean surface—much like setting up my watercolor palette before a session in the park. While it might be tempting to grab just any old putty knife, investing in the right wall repair tools and materials makes the transition from a damaged surface to a smooth canvas so much more seamless. If you’re dealing with a tiny nick from a moved picture frame, a simple drywall patch kit for small holes is a lifesaver; it keeps the process contained and prevents that overwhelming feeling of a “project” turning into a “renovation.”
For larger gaps, you’ll want to step up your game with a sturdy putty knife and a reliable bag of joint compound. I always tell my clients to think of the compound as the “breath” of the repair—it needs to be applied with intention. If you find yourself working on an older, more characterful home, you might be fixing holes in plaster walls, which requires a slightly more delicate touch and perhaps some extra mesh tape to ensure stability. Having your sanding sponges and dust masks ready beforehand ensures that once you start, you can stay in that beautiful, creative flow without constant interruptions.
The Art of Drywall Mesh Tape Application
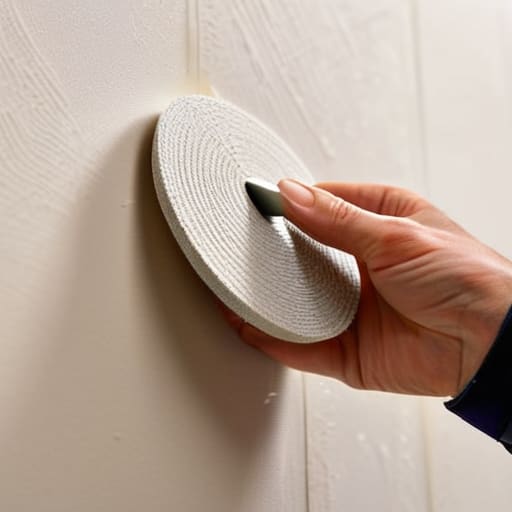
Think of the mesh tape not just as a structural necessity, but as the bridge that connects your repair back to the integrity of the wall. When you’re working on the drywall mesh tape application, precision is your best friend. I always find that centering the tape perfectly over the void ensures that the subsequent layers of compound distribute evenly. If you’re dealing with something more delicate, like fixing holes in plaster walls, you’ll want to be even more mindful of how the tape sits against the surface to avoid any unwanted ridges that might disrupt the visual flow of your room.
Once the tape is in place, the real magic happens with how you integrate it with your compound. I like to think of it as layering a translucent glaze in a painting; you want to press the material through the mesh so it becomes one with the substrate. Avoid the temptation to go too thick in one go. Instead, aim for thin, purposeful layers that gradually build the surface back to its original state. This patience ensures that when you eventually move on to your sanding techniques, the transition is so seamless it feels like the hole never existed.
Small Refinements for a Flawless Finish
- Don’t rush the drying process; I know it’s tempting to jump straight to sanding, but letting the compound cure fully ensures your repair doesn’t crack or sag later, preserving the integrity of your “canvas.”
- Sand with a light, rhythmic touch—think of it like sketching a delicate outline—to avoid gouging the surrounding area and creating more work for yourself.
- Use a wide putty knife to feather the edges of your patch into the wall; this seamless transition is the secret to making the repair invisible to the naked eye.
- Always clean the dust away with a damp cloth before you reach for the paint, otherwise, you’ll end up with a textured, muddy finish that disrupts the calm of your room.
- Match your paint texture, not just the color; if your walls have a subtle organic grain, a flat coat of paint might look too stark against the surrounding surface.
The Final Stroke
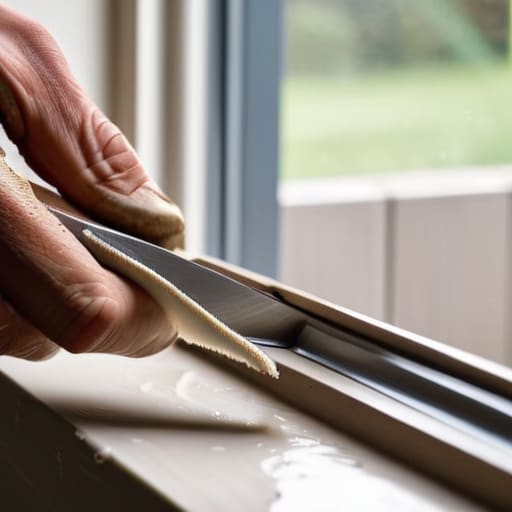
As you step back from your work, take a moment to appreciate the transformation. By carefully selecting your materials, mastering the precision of the mesh tape, and applying those layers of joint compound with a steady hand, you haven’t just fixed a structural imperfection; you have restored the visual flow of your room. Remember that the secret to a professional finish lies in the patience of your sanding process and the delicate layering of each coat. Once that surface is smooth and primed, you are no longer looking at a patch job, but a seamless extension of your home’s architecture, ready to receive its final coat of color.
I often think about how these small, quiet moments of maintenance are actually profound acts of stewardship. To me, mending a wall is much like sketching a new floor plan on a café napkin—it’s about seeing the potential in what is broken and finding the path toward renewed harmony. Don’t let a small blemish discourage your creative spirit or make your space feel less than perfect. Instead, embrace the process of restoration as a way to reclaim your sanctuary, ensuring that every corner of your home remains a beautiful, intentional canvas for the life you are building.



MOST COMMENTED
Lifestyle
10 Hydration Hacks for Glowing Skin & More Energy!
Home
Renovating? Here’s How to Stay on Budget!
Outdoor
How to Make a Magical Fairy Garden for Kids!
Renovation
10 DIY Ways to Protect Your Home from Storm Damage
Finance
Designing Your Financial Canvas: How to Create a Monthly Budget That Balances Urban Ambition With Serene Stability
Lifestyle
How to Stay Motivated on Your Weight Loss Journey!
Outdoor
From Urban Chaos to Wilderness Calm: the Art of How to Pack a Hiking Backpack for a Seamless Escape