
Did you know over 70% of Americans struggle with storage at home? A backyard shed is a great solution. It offers a place for tools and outdoor gear, and it makes your property look better.
Building your own shed can be a fun project. It’s not hard. I’ll show you how to build a shed, from start to finish. My advice and experiences will help you make a shed that’s just right for you.
Key Takeaways
- Good planning is key for a successful shed project.
- Picking the right spot makes your shed more useful and easy to get to.
- Choosing the right size and style meets your needs.
- A strong foundation is essential for your shed’s long life.
- Keeping your tools and supplies organized makes your shed more efficient.
- Using quality materials means your shed will last longer.
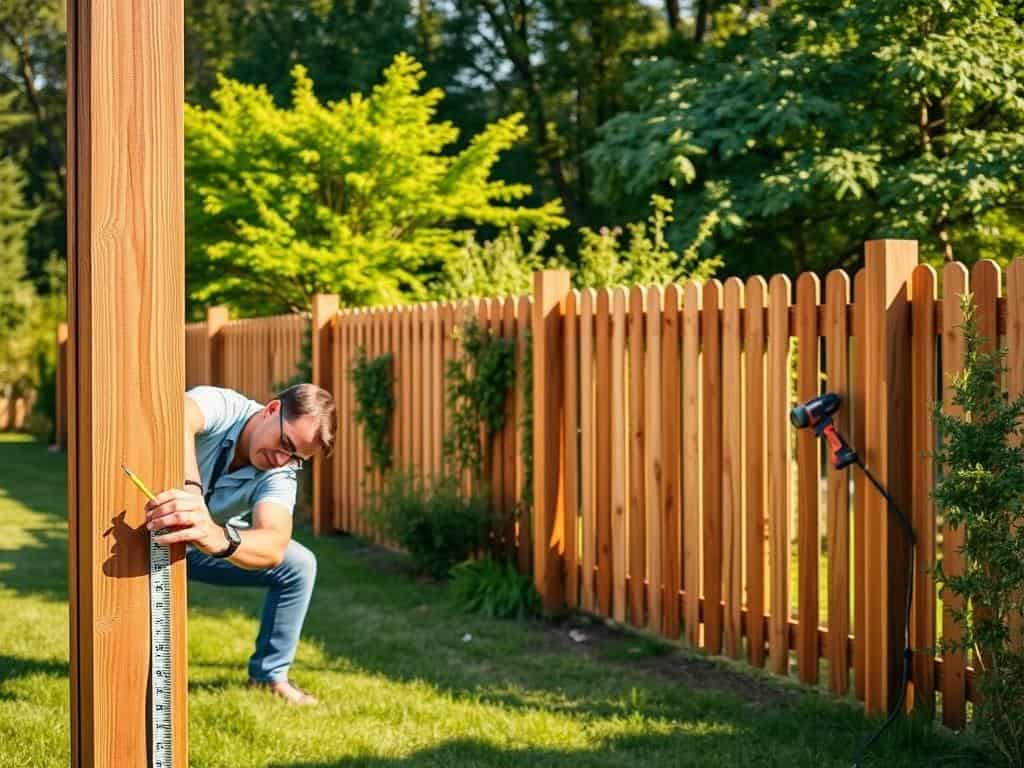
Planning Your DIY Shed Construction
Good planning is key to a successful DIY project. Start by picking the right spot for your shed. Look for a flat area that’s at least 6 inches level to avoid water problems. I also steer clear of areas with lots of trees to prevent falling debris.
Choosing the Perfect Location
When picking a spot, think about sunlight, how easy it is to get to, and how it looks with your backyard. A well-chosen shed can make your yard look better.
Selecting Size and Style
The size of your shed matters a lot. I choose based on what I need to store and how much space I have. For my project, I picked an 8 x 12-foot shed with a gable roof. It’s big enough for gardening tools and bikes.
Choosing a style that matches your home and yard is important. It should look good and be useful.
Designing the Layout
When designing, think about where to put doors and windows. I aim for easy access and lots of light. Before I start building, I check local rules and get the needed permits. It saves a lot of trouble later.
Building the Foundation and Structure
Before starting the fun parts of building, a solid foundation is key. It’s the backbone of your shed, ensuring it lasts long and stays strong. I look at two main foundation types: on-grade and frost-proof. Each has its own benefits, depending on the weather and soil.
Establishing a Solid Foundation
When building my shed foundation, I often choose concrete blocks, pressure-treated lumber, and gravel. For on-grade foundations, concrete deck blocks or timber-frame foundations work well. I make sure to compact the soil and add gravel for drainage to prevent water damage.
Knowing the local frost line is important, which is why I pick frost-proof foundations sometimes. These include poured concrete and adjustable bases. I dig post holes deep enough to stay stable through all seasons.
Constructing the Floor Frame
After the foundation is set, I move on to the floor frame. I use treated 2×4-inch lumber for the floor, spacing joists every 16 inches for support. I secure these joists with joist hangers for a level floor. The floor runners, made from treated 4×4-inch lumber, add strength and protect against moisture.
Framing the Walls and Roof
With the floor frame done, I focus on the walls and roof. I build the walls with 2×4 lumber, making sure they’re square and plumb. This is critical for a strong structure. After building the wall frames, I attach them carefully.
For the roof, I use plywood sheathing for a solid base. Proper alignment and reinforcement are key to keeping my shed strong.

Conclusion
Building my own shed was a rewarding journey. It improved my backyard organization and made my outdoor space more functional. With good planning and the right materials, I turned an empty space into a useful storage area.
Using a plan like the Brayton Shed Plan from Paul’s Sheds helped a lot. It gave me a clear guide to follow, making the project easier to manage.
Over the five months, I learned the value of using quality materials. I chose pressure-treated wood and vinyl siding. The shed’s design, with barn-style doors and shuttered windows, looked great.
Getting my family involved made the project fun. They helped a lot, adding their creativity, like during the painting. It was a team effort that made the project successful.
If you’re thinking about a DIY project, remember a few key things. Check local laws, get expert advice when you need it, and look for best practices. The hard work will be worth it, as you create a useful space that makes your backyard look better. Happy building!

MOST COMMENTED
Smart Living
Why You Need a Smart Smoke Detector ASAP!
Smart Living
How to Use Smart Tech to Be More Productive at Home
Renovation
Upgrade Your Ceiling with These Easy DIY Ideas!
Home
30-Day Decluttering Challenge – Say Goodbye to Mess!
Lifestyle
7 Ways to Get Rid of Brain Fog Instantly!
Outdoor
These Flowers Will Attract Bees & Help Nature!
Home
Why Dark Interiors Are the Boldest Trend Yet!